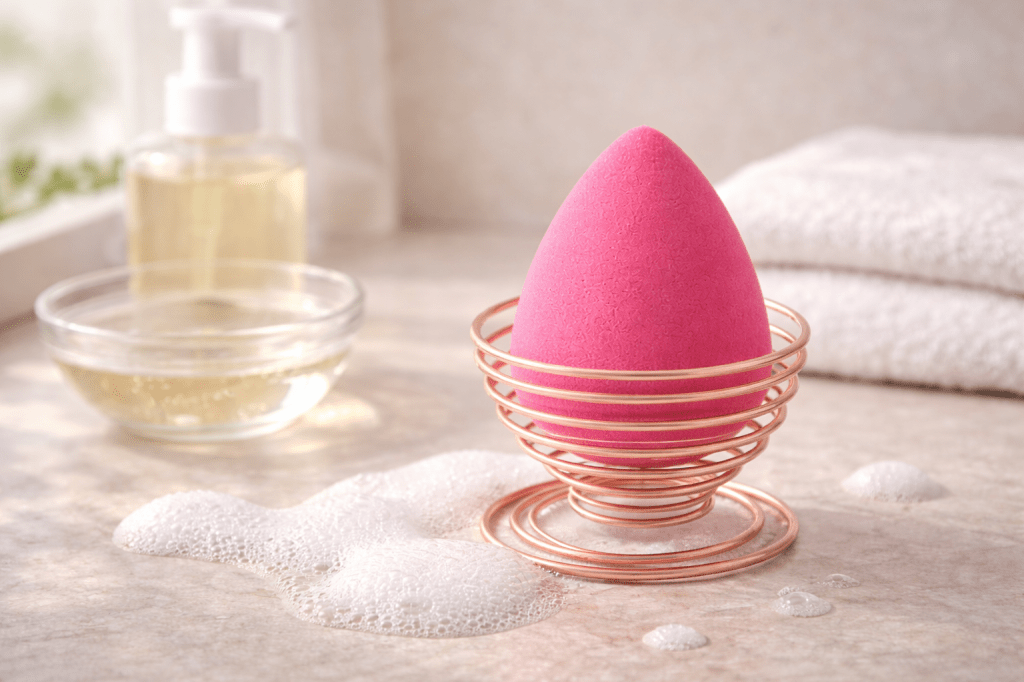
A beauty blender is one of the most important tools in your makeup routine — but if you’re not cleaning it properly, you may be spreading bacteria, oil, and old makeup across your face every day. Learning how to clean a beauty blender not only extends its lifespan but also protects your skin from breakouts, irritation, and infections.
In this complete guide, you’ll discover the best ways to clean your beauty blender, how often to wash it, what products to use, and common mistakes to avoid — all in easy, step-by-step methods.
Why Cleaning Your Beauty Blender Is So Important
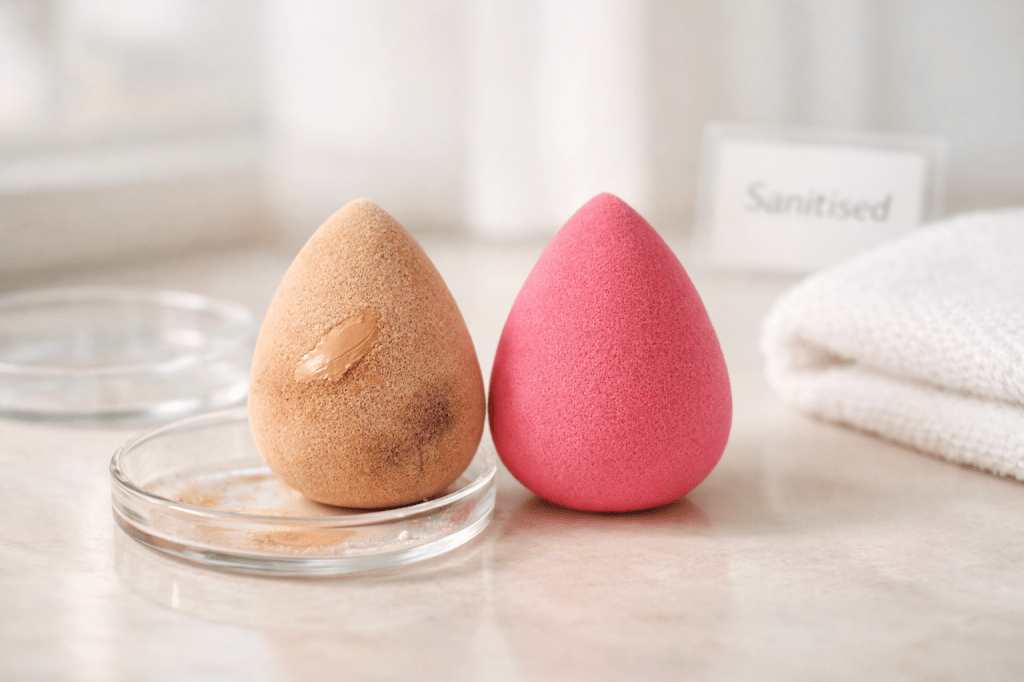
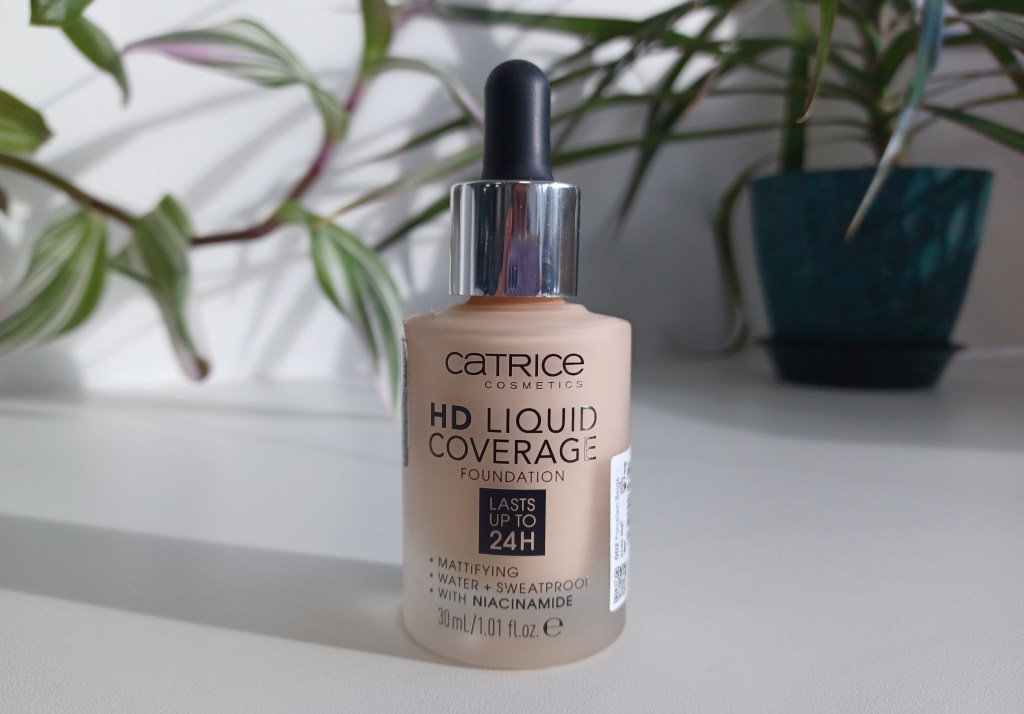
Your beauty sponge absorbs liquid foundation, concealer, cream blush, and even skincare products. Without regular washing, this trapped product becomes a breeding ground for bacteria, mold, and oil buildup.
Dirty makeup sponges can cause:
- Acne and clogged pores
- Skin irritation and redness
- Uneven makeup application
- Shortened sponge lifespan
Experts recommend cleaning your beauty blender after every use and deep cleaning it at least once a week.
*Affiliate disclosure: As an Amazon Associate, I earn from qualifying purchases
<< See Beauty Blenders on Amazon >>
How Often Should You Clean a Beauty Blender?
For best hygiene and performance:
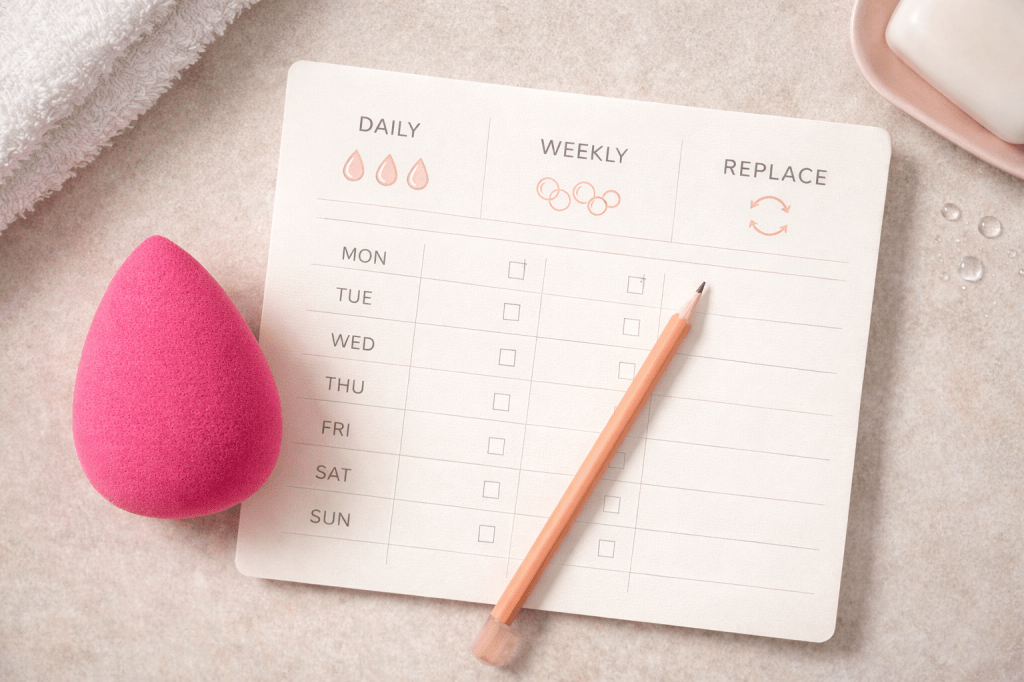
- Daily use: Quick clean after every makeup session
- Weekly: Deep clean to remove buildup and bacteria
- Replace: Every 3–6 months depending on use
If your sponge smells, feels stiff, or stains won’t come out — it’s time to replace it.
Best Products to Clean a Beauty Blender
You don’t need expensive products to clean your sponge effectively. Here are some great options:
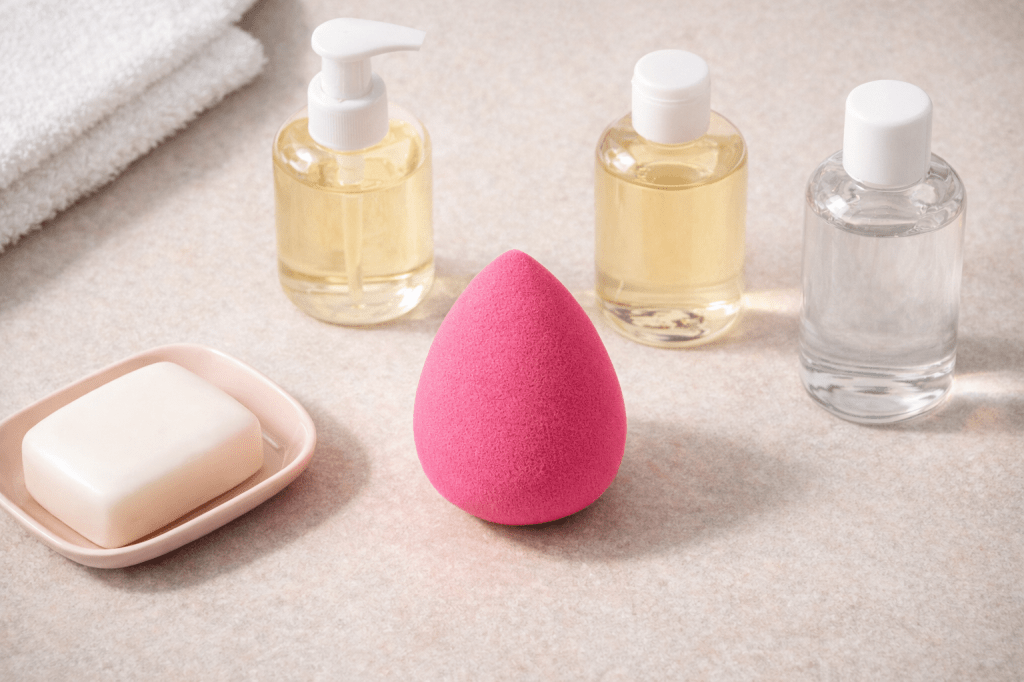
- Mild liquid soap or baby shampoo
- Dish soap (great for breaking down oils)
- Makeup sponge cleanser
- Solid bar soap
- Micellar water (for quick cleaning)
Avoid harsh detergents, bleach, or alcohol, which can damage the sponge and irritate your skin.
How to Clean a Beauty Blender: 5 Easy Methods
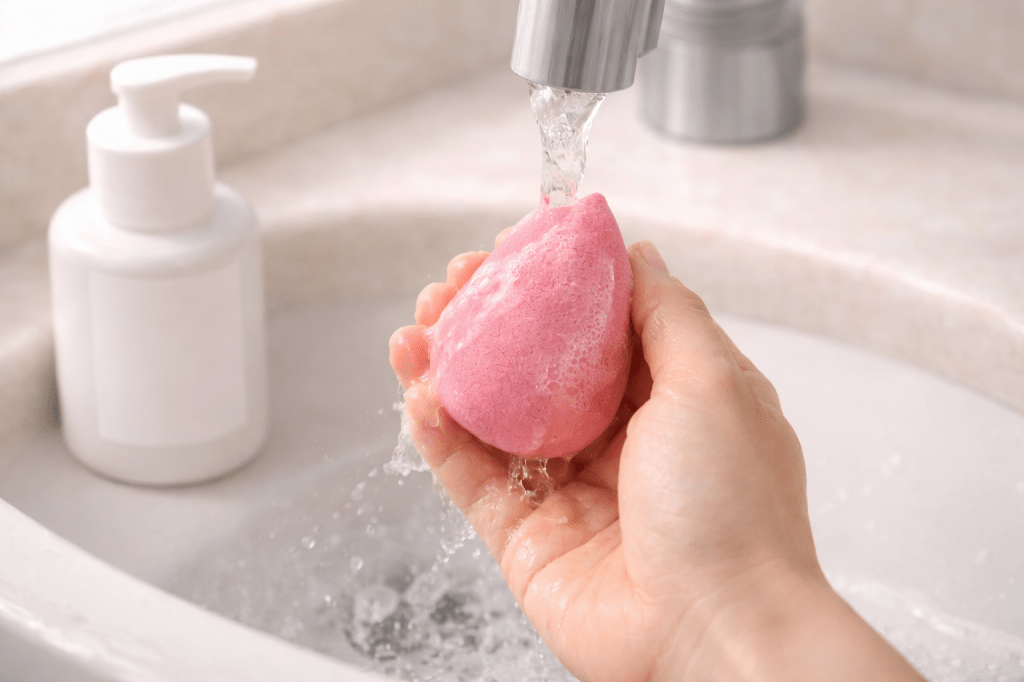
1. Soap and Water Method (Best Everyday Option)
This is the safest and most effective method for routine cleaning.
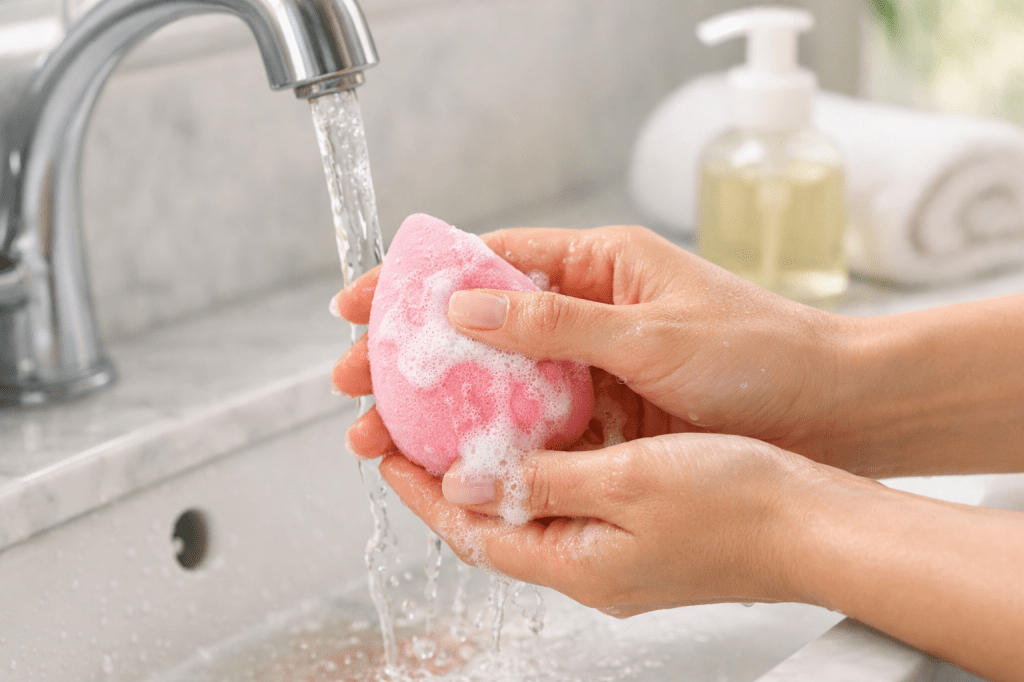
Steps:
- Wet your beauty blender under warm running water.
- Apply mild soap directly onto the sponge.
- Gently squeeze and massage until makeup residue releases.
- Rinse thoroughly until water runs clear.
- Squeeze out excess water and air dry.
Best for: Daily cleaning and sensitive skin
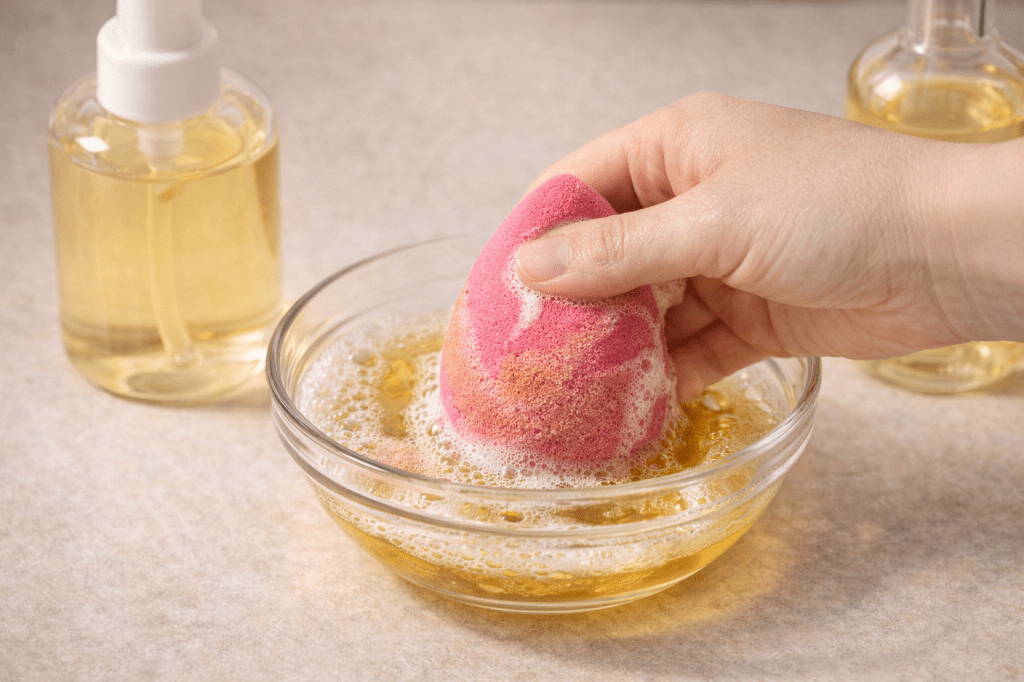
2. Dish Soap + Olive Oil Method (For Heavy Foundation Stains)
This method is ideal for stubborn buildup from full-coverage makeup.
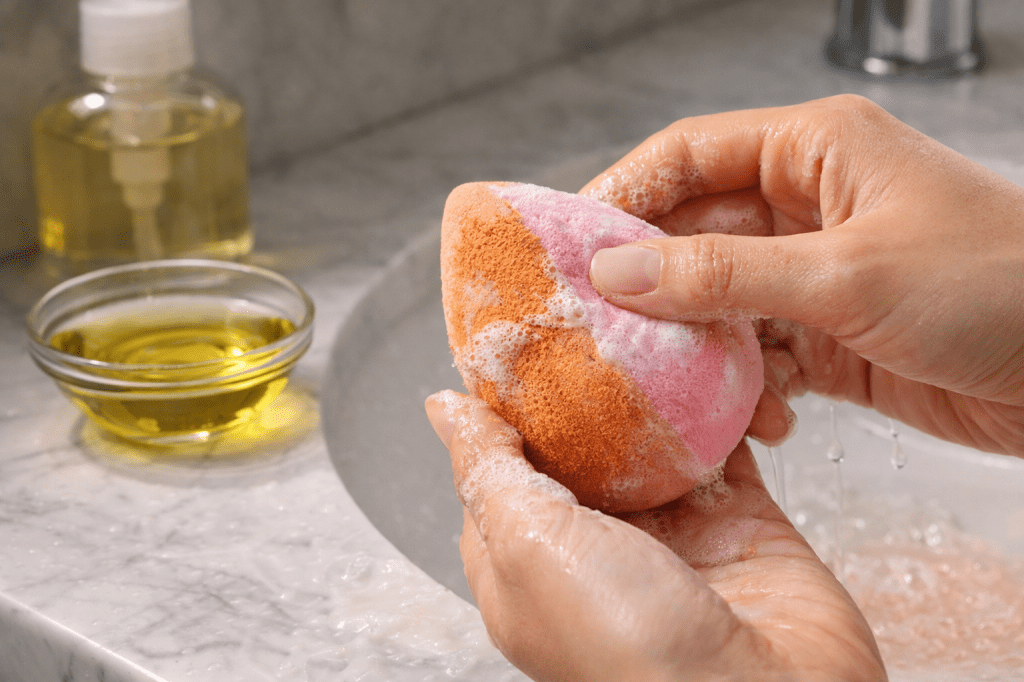
Steps:
- Mix a few drops of dish soap with olive oil.
- Massage into the sponge while wet.
- Rinse thoroughly with warm water.
- Repeat if needed and air dry.
Why it works: Dish soap breaks down oils, while olive oil loosens pigment stains.
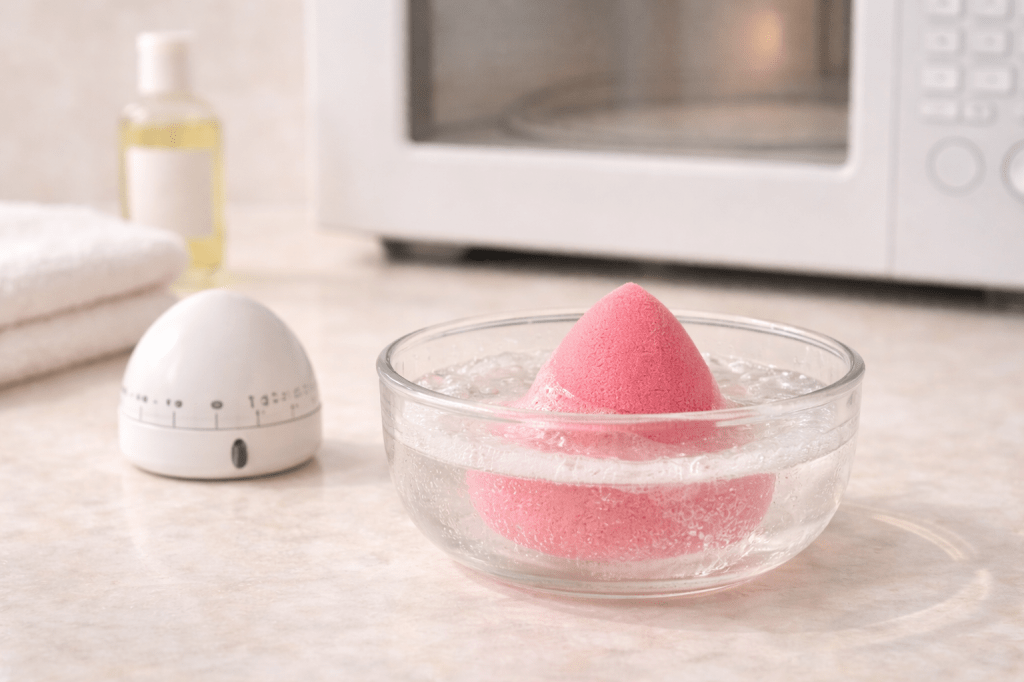
3. Microwave Method (Deep Sanitizing Clean)
This technique kills bacteria and removes tough stains.
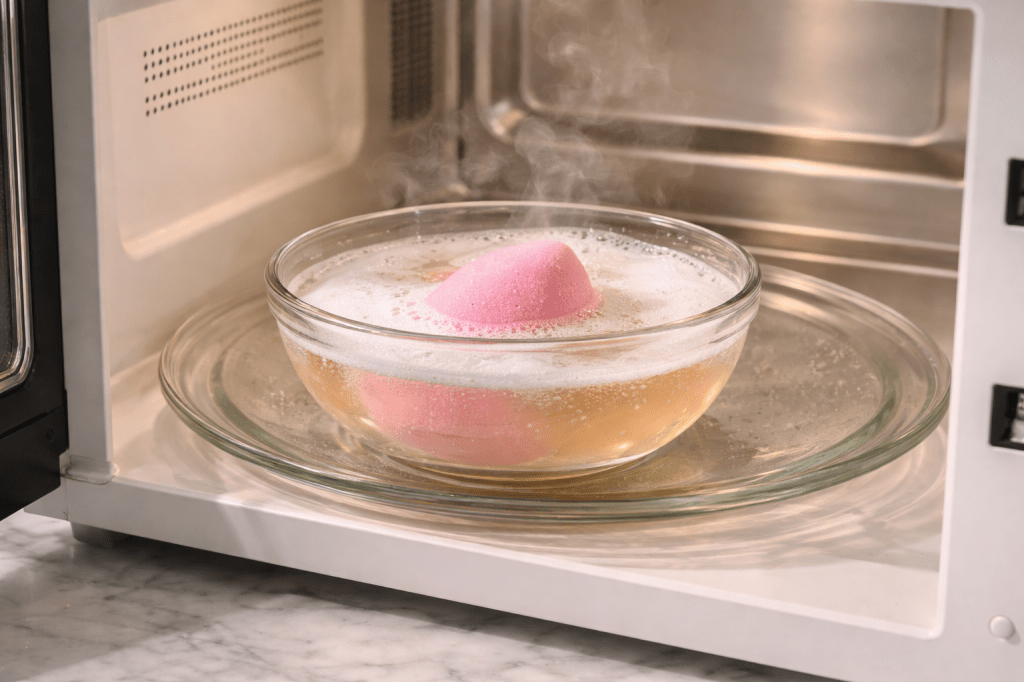
Steps:
- Place sponge in a microwave-safe bowl with warm water and soap.
- Microwave for 30–60 seconds.
- Let cool, rinse thoroughly, and air dry.
⚠️ Never microwave a dry sponge — it can burn or melt.
Best for: Weekly deep sanitizing
4. Solid Bar Soap Method (Quick & Mess-Free)
Solid soap works great for everyday maintenance.
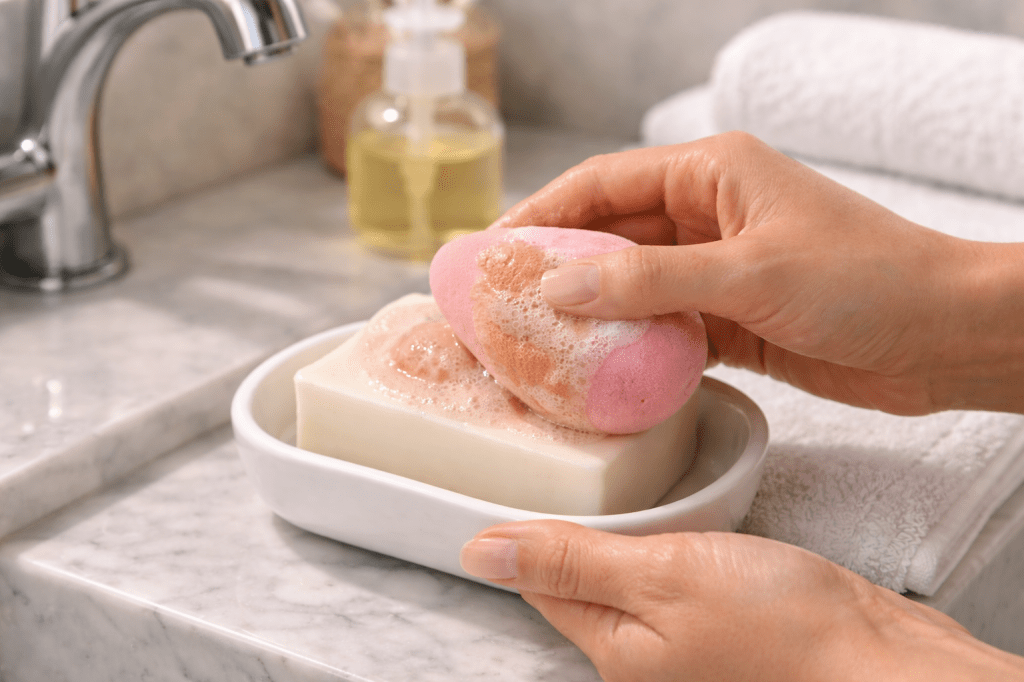
Steps:
- Wet sponge and soap bar.
- Rub sponge over soap.
- Massage until suds form and makeup releases.
- Rinse until clean and dry.
Best for: Travel-friendly cleaning
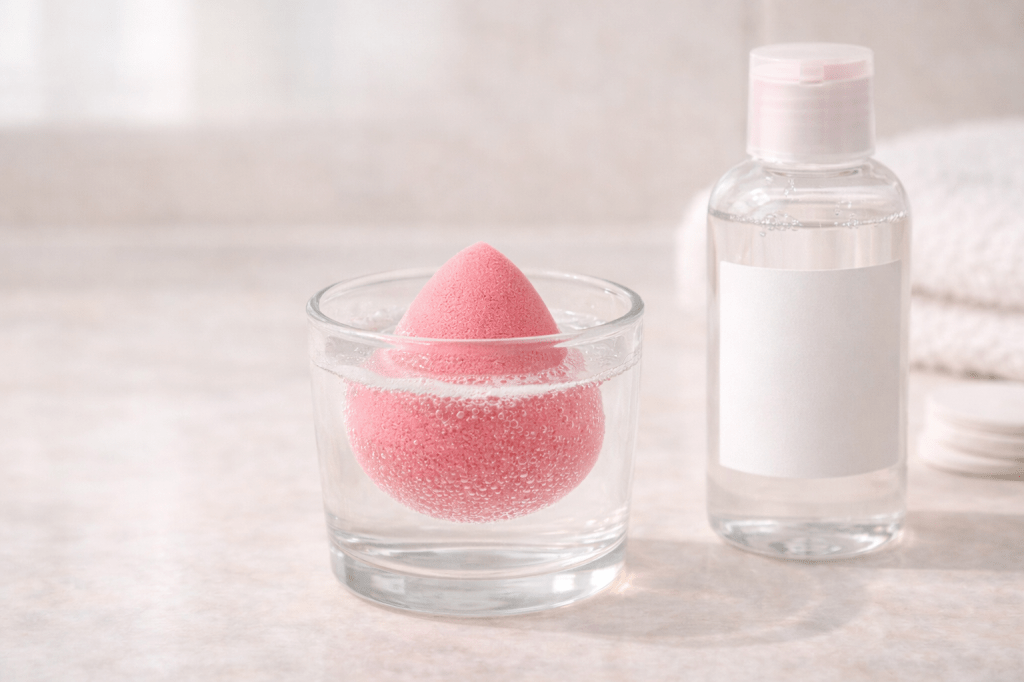
5. Micellar Water Method (Quick Spot Clean)
When you’re short on time, micellar water can remove surface makeup.
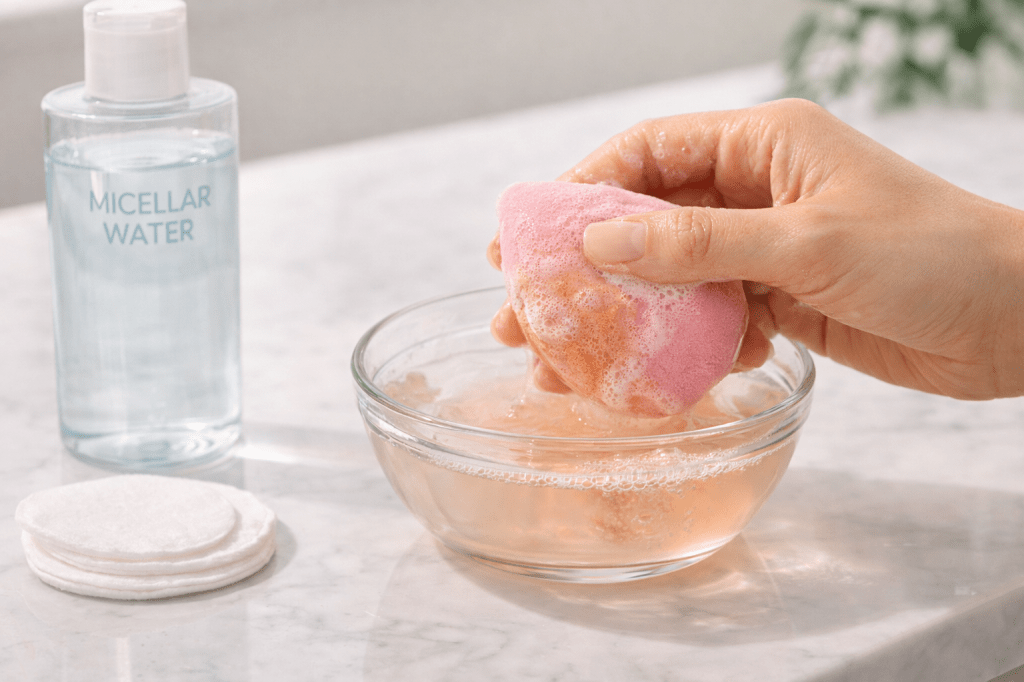
Steps:
- Soak sponge in micellar water.
- Gently squeeze to lift makeup.
- Rinse with warm water and air dry.
Best for: Quick refresh between deep cleans
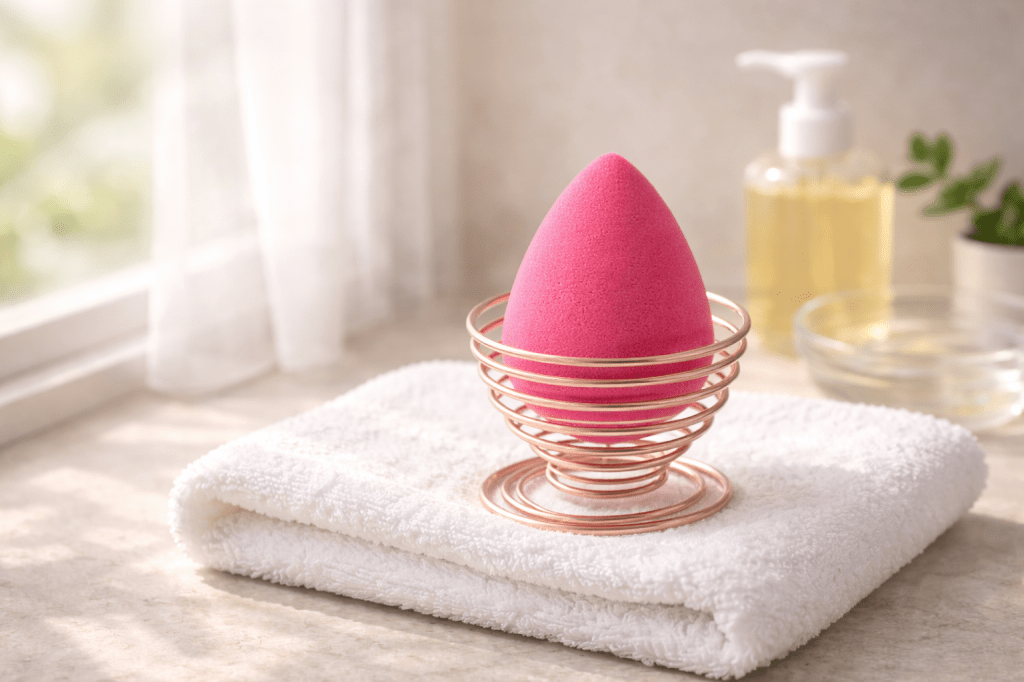
How to Dry a Beauty Blender Properly
Drying your sponge correctly is just as important as washing it.
✔ Always air dry in a well-ventilated area
✔ Store on a clean towel or drying stand
✔ Avoid sealed containers or makeup bags
✔ Never leave it damp in the bathroom
Moist environments promote mold and bacteria growth.
Common Beauty Blender Cleaning Mistakes
Avoid these errors to protect your sponge and skin:
❌ Using hot boiling water (can damage sponge structure)
❌ Twisting or tearing while squeezing
❌ Using harsh chemicals or alcohol
❌ Skipping regular cleaning
❌ Storing damp sponges in makeup bags
Gentle care keeps your beauty blender soft, bouncy, and long-lasting.
How to Tell When It’s Time to Replace Your Beauty Blender
Even with perfect cleaning, makeup sponges don’t last forever. Replace your sponge if:
- It has visible tears or holes
- Stains won’t wash out
- It smells musty
- It feels rough or stiff
Most makeup artists recommend replacing beauty blenders every 3 to 6 months for optimal hygiene and performance.
Pro Tips for Keeping Your Beauty Blender Clean Longer
✨ Clean immediately after use — makeup washes out easier
✨ Keep a travel cleanser in your makeup bag
✨ Store on a breathable sponge holder
✨ Own multiple sponges and rotate use
✨ Deep clean weekly for best hygiene
Frequently Asked Questions
Can I wash my beauty blender with shampoo?
Yes — mild baby shampoo works well and won’t damage the sponge.
Is it safe to microwave my beauty blender?
Yes, if it’s fully submerged in water and soap. Never microwave it dry.
Can I use makeup wipes instead?
Wipes only clean the surface and won’t remove bacteria or deep buildup.
How long does a beauty blender take to dry?
Typically 6–12 hours depending on airflow and humidity.
Final Thoughts: Clean Tools = Better Skin

Knowing how to clean a beauty blender properly is one of the easiest ways to improve your makeup application, protect your skin, and extend the life of your beauty tools. With just a few minutes of care, your sponge will stay soft, fresh, and flawless every time you apply your makeup.
Make sponge cleaning part of your beauty routine — your skin will thank you.
You may also like:


Leave a comment